Using Vercel Edge Functions with NextJS
Adding Serverless Functionality to Your Next.js App with Vercel Edge Functions


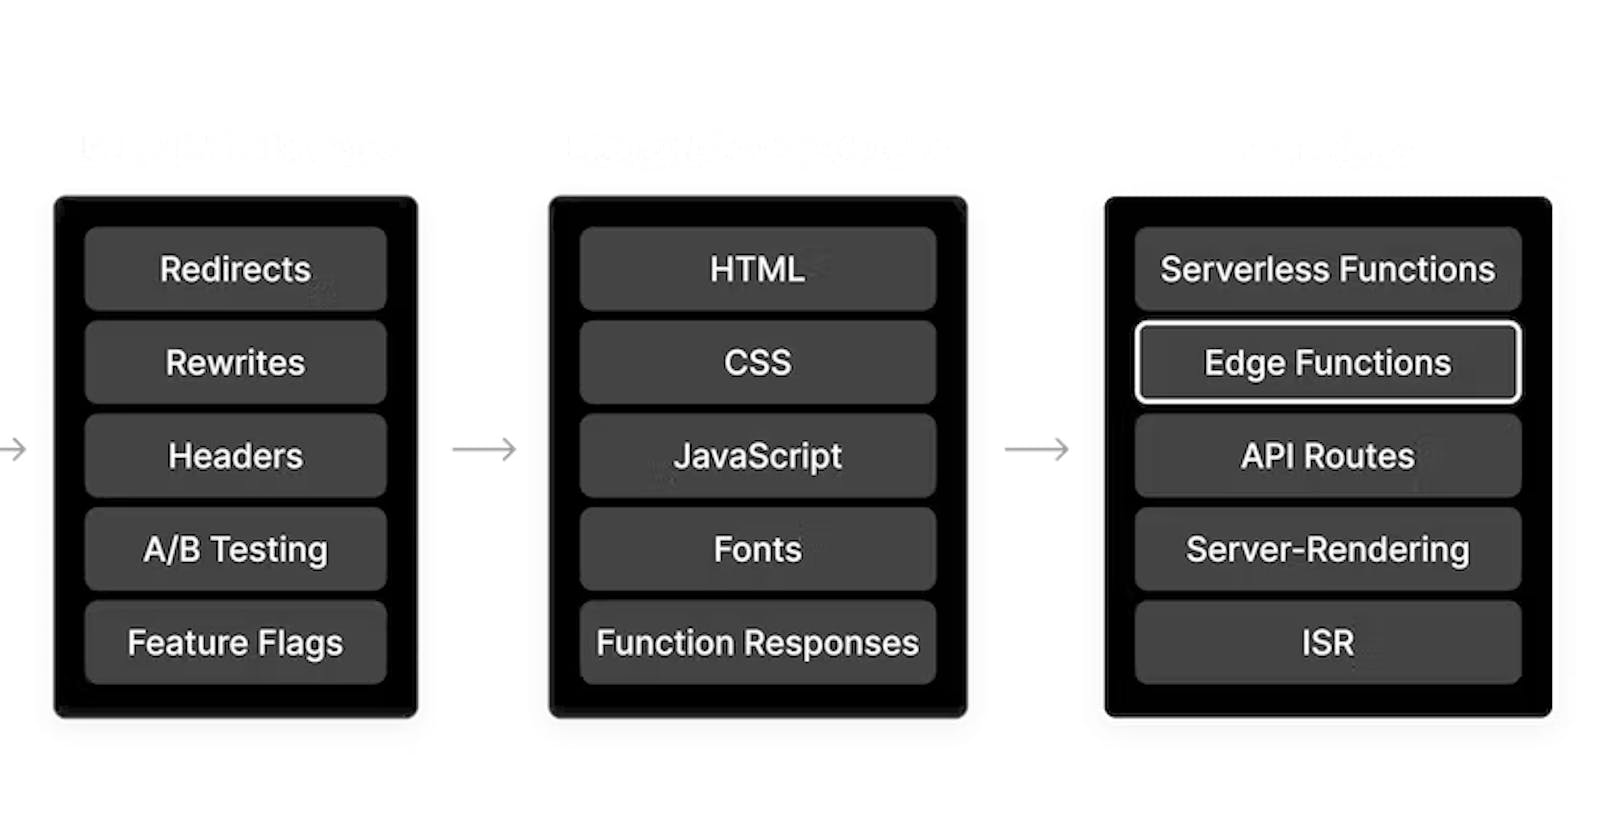
Vercel is a cloud platform for static sites and Serverless Functions that fits perfectly with Next.js, the React framework for building web applications. Vercel's Edge Functions allow you to run serverless functions at the edge of their global CDN, providing low latency and high performance.
In this article, we will go through the steps of setting up and using Vercel Edge Functions with a Next.js app.
Prerequisites
Before we start, you will need the following:
A Vercel account: sign up for a free account at vercel.com.
A Next.js app: create a new Next.js app using the Next.js CLI or use an existing one.
Step 1: Deploy your Next.js app to Vercel
The first step is to deploy your Next.js app to Vercel. If you already have a Vercel project set up for your app, you can skip this step.
To deploy your app, you will need to push your code to a Git repository (such as GitHub) and then link your repository to Vercel.
Here's a quick summary of the steps:
Initialize a Git repository in your Next.js project by running
git init.Add your files to the repository by running
git add ..Commit your changes by running
git commit -m "Initial commit".Create a new repository on GitHub (or any other Git hosting service).
Add the URL of your new repository as a remote for your local repository:
git remote add origin <repository-url>.Push your code to the repository by running
git push -u origin master.Go to vercel.com and sign in.
Click the "New Project" button and select "Import Project".
Select the "GitHub" option and authorize Vercel to access your repositories.
Select the repository that contains your Next.js app and click "Import".
Follow the prompts to set up your project.
Vercel will now build and deploy your Next.js app. This may take a few minutes. When it's done, you will see a URL where you can access your app.
Step 2: Create an Edge Function
To create an Edge Function, you need to add a functions directory to your Next.js project and place your function code inside it. The name of the file will be the name of the function.
For example, to create a function called hello, you would create a file called hello.js in the functions directory with the following content:
exports.handler = async (event, context) => {
  return {
    statusCode: 200,
    body: "Hello, World!"
  };
};
This function returns a simple "Hello, World!" message when it is called.
You can then deploy your function by committing and pushing your code to your Git repository as you did in step 1. Vercel will automatically detect the functions directory and deploy your function.
Step 3: Call your Edge Function from your Next.js app
To call your Edge Function from your Next.js app, you can use the fetch function to send an HTTP request to the function's URL. The URL of the function is available in the process.env.VERCEL_URL environment variable.
Here's an example of how you can call the hello function from a Next.js page:
import { useEffect, useState } from "react";

export default function Home() {
  const [message, setMessage] = useState("");

  useEffect(() => {
    async function fetchData() {
      const res = await fetch(`${process.env.VERCEL_URL}/api/hello`);
      const data = await res.json();
      setMessage(data.body);
    }
    fetchData();
  }, []);

  return (
    <div>
      <h1>{message}</h1>
    </div>
  );
}
In this example, we are using the useEffect hook to call the hello function when the component is mounted. The response from the function is then used to set the message state, which is displayed on the page.
You can also pass data to your Edge Function by including it in the query string or as a JSON payload in the request body. For example:
const res = await fetch(`${process.env.VERCEL_URL}/api/hello?name=John`);
const res = await fetch(`${process.env.VERCEL_URL}/api/hello`, {
  method: "POST",
  body: JSON.stringify({ name: "John" })
});
To access the data in your function, you can use the event.query or event.body properties of the function's input. For example:
exports.handler = async (event, context) => {
  const name = event.query.name || event.body.name || "World";
  return {
    statusCode: 200,
    body: `Hello, ${name}!`
  };
};
Step 4: (Optional) Configure your function's API endpoint
By default, Vercel exposes your function at an API endpoint in the following format: https://api.vercel.app/<project-id>/<function-name>.
You can customize the API endpoint by adding a vercel.json file to your project and specifying the alias property for your function. For example:
 {
  "version": 2,
  "alias": {
    "/api/hello": "functions/hello"
  }
}
This will expose your hello function at the /api/hello endpoint.
You can also use the alias property to create a custom domain for your functions. For example:
 {
  "version": 2,
  "alias": {
    "https://api.example.com": "functions"
  }
}
This will expose all functions in the functions directory at the https://api.example.com domain.
Conclusion
In this article, we learned how to use Vercel Edge Functions with a Next.js app. We saw how to deploy a Next.js app to Vercel and how to create and call Edge Functions from a Next.js page. We also looked at how to pass data to an Edge Function and how to customize the API endpoint for a function.
Vercel Edge Functions are a powerful tool for adding serverless functionality to your Next.js app. They are easy to set up and offer low latency and high performance.
I hope this article helped you get started with Vercel Edge Functions and Next.js. If you have any questions or comments, please let me know in the comments below.